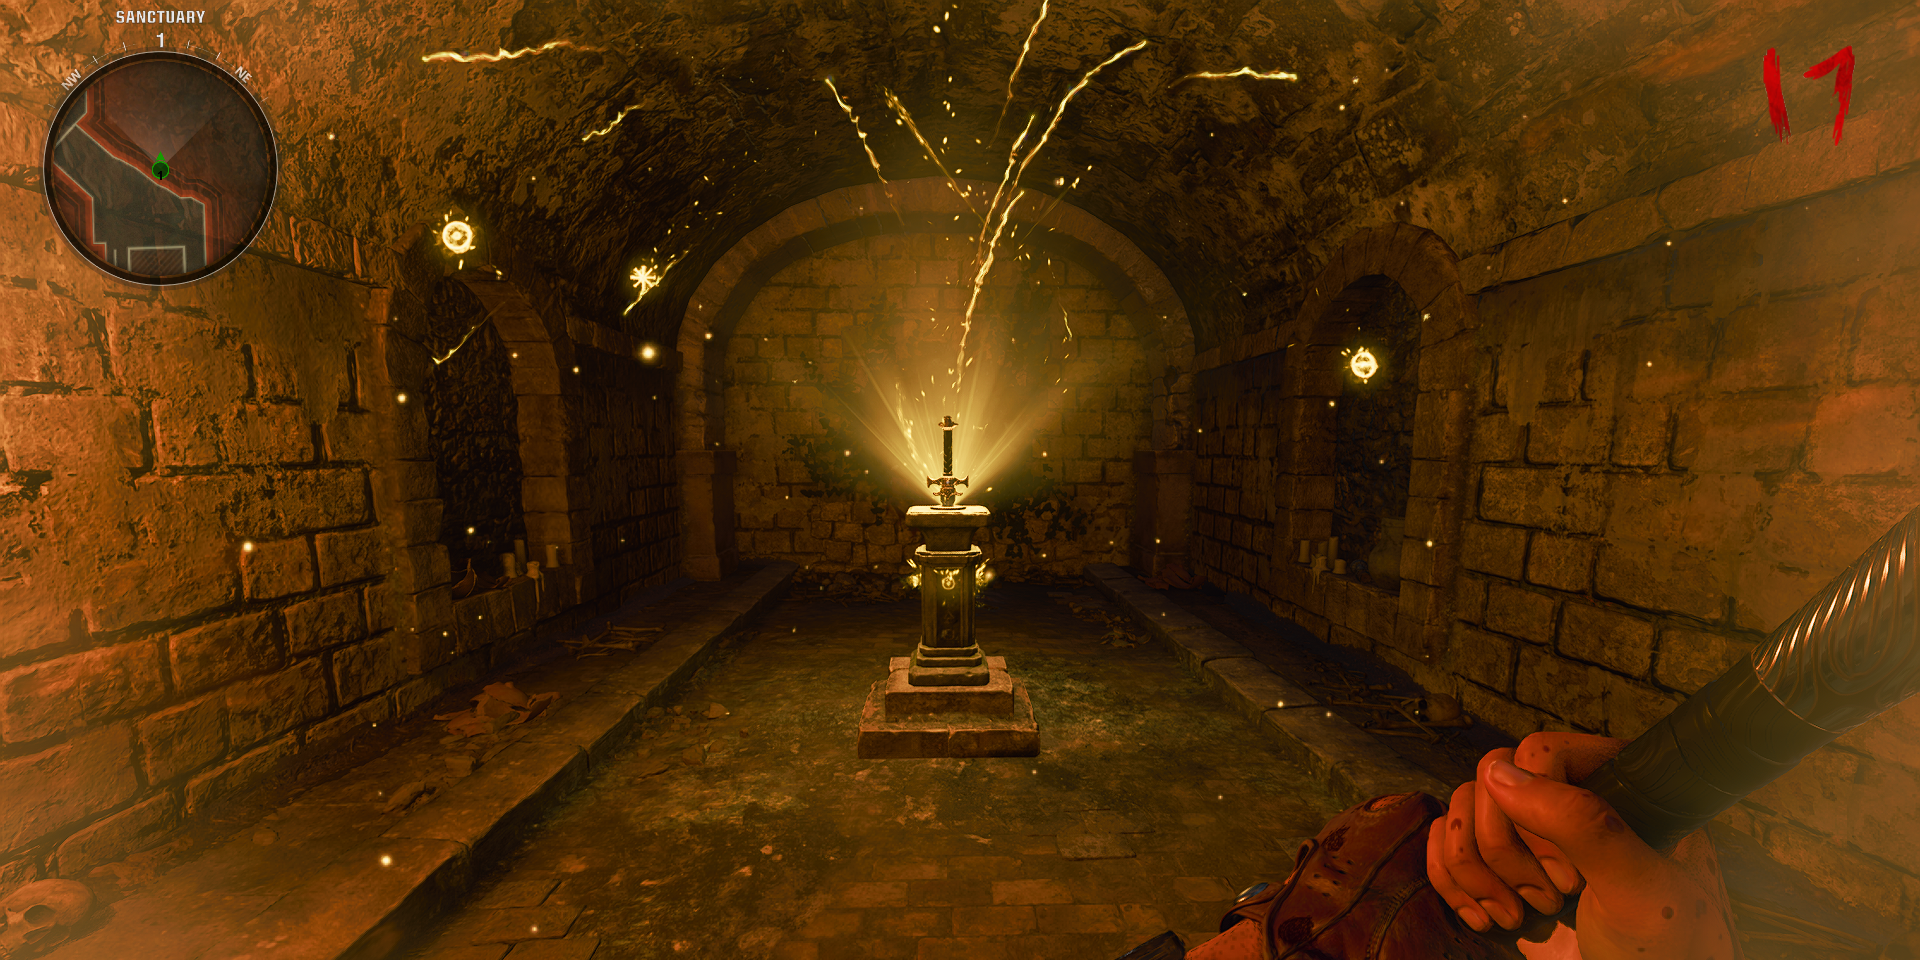
Wonder Weapons are essential to the Black Ops 6 Zombies experience, and Citadelle des Morts follows the trend of some of the best Call of Duty Zombies maps out there by providing four elemental weapons, each with their own distinct abilities and design that makes them well worth crafting and upgrading to conquer the high rounds.
Related
Black Ops 6: All Weapon Wall-Buys in Citadelle des Morts
Citadelle des Morts has arrived in Black Ops 6, providing Zombies fans with a castle-themed map with a few weapon wall-buys to take note of.
If players want to obtain any of the 4 Elemental Swords in Black Ops 6’s Citadelle des Morts map, then they have come to the right place, as this detailed guide will provide players with everything they need to claim the unstoppable swords to cut down hordes of undead.
How to Get the Sword in Citadelle des Morts
In order to get the Sword Wonder Weapon in Citadelle des Morts, players must first activate the Pack-a-Punch machine and have access to the Dining Hall area where Vulture Aid can be found. If players already have Pack-a-Punch accessed, then the next step is to simply wait until Round 10, as that’s the round where specific zombies will spawn. The zombies players are looking for have templar helmets on their heads, making them immune to headshot damage. Killing these unique zombies will always spawn a Stamp drop, which can be used in the Dining Hall on any of the four knight statues. However, each Sword has a specific use for their individual upgrades, so here’s where they all are when facing North (looking at Vulture Aid):
- Stag/Lightning Sword (front left)
- Crow/Void Sword (back left)
- Dragon/Fire Sword (front right)
- Lion/Light Sword (back right)
Once players have a Stamp, they can go over to the knight statue that they like and then hold the interact button, which will then have the knight present their sword to be taken, providing players with a dedicated melee weapon: the Sword. It’s advised at this point to grab Melee Macchiato to make this melee weapon deal even more damage.
The Elemental Swords can be acquired in any order
How to Get Caliburn (The Fire Sword)
From the Dragon Knight
Once players have pulled the Dragon Sword from the front right knight statue, they must head into the Entrance Hall where Juggernog is located, and up the stairs where a dragon statue awaits. Players will then want to pull out the Dragon Sword and interact with the dragon statue, which will sheathe the sword into the stone. Now, players must locate three burning pyres and interact with one of them at a time to bring it back to the dragon statue. Do be warned that when picking up the fire, players will take 15 damage to their HP every second, so it’s advised to grab Juggernog. Players should be able to one-shot punch zombies that chase after players during this segment, and doing so will restore HP.
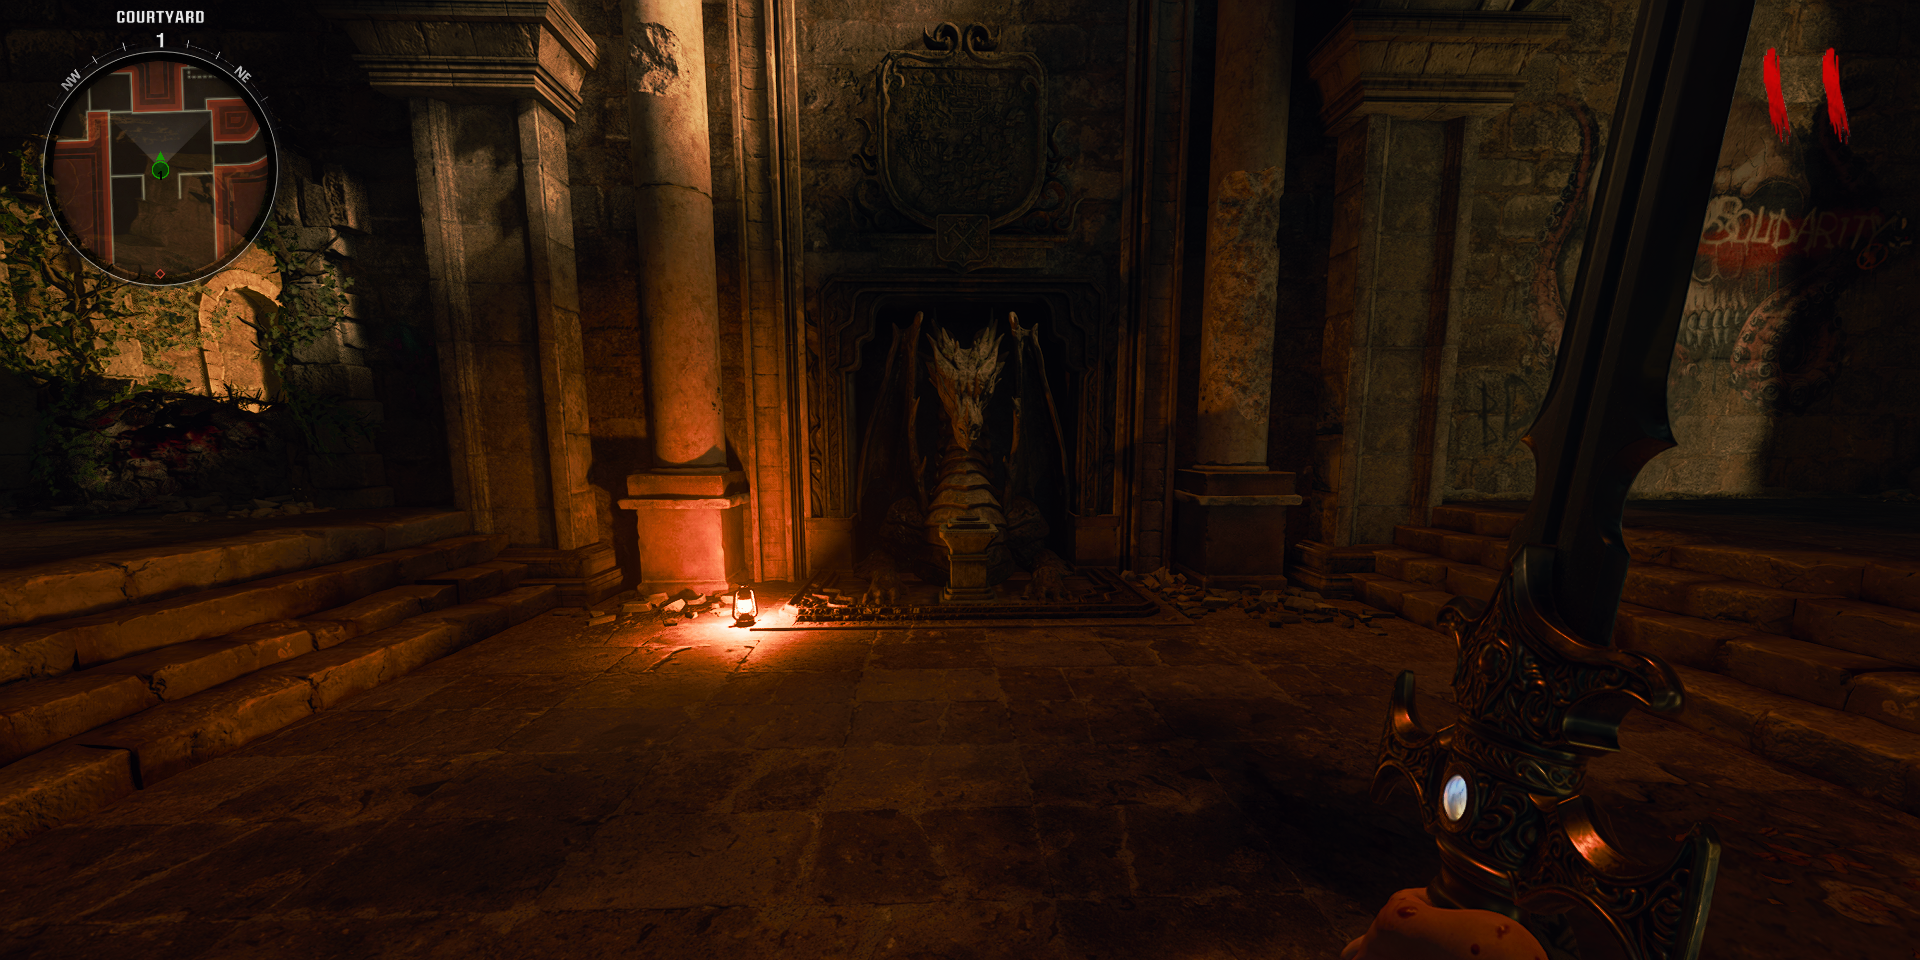
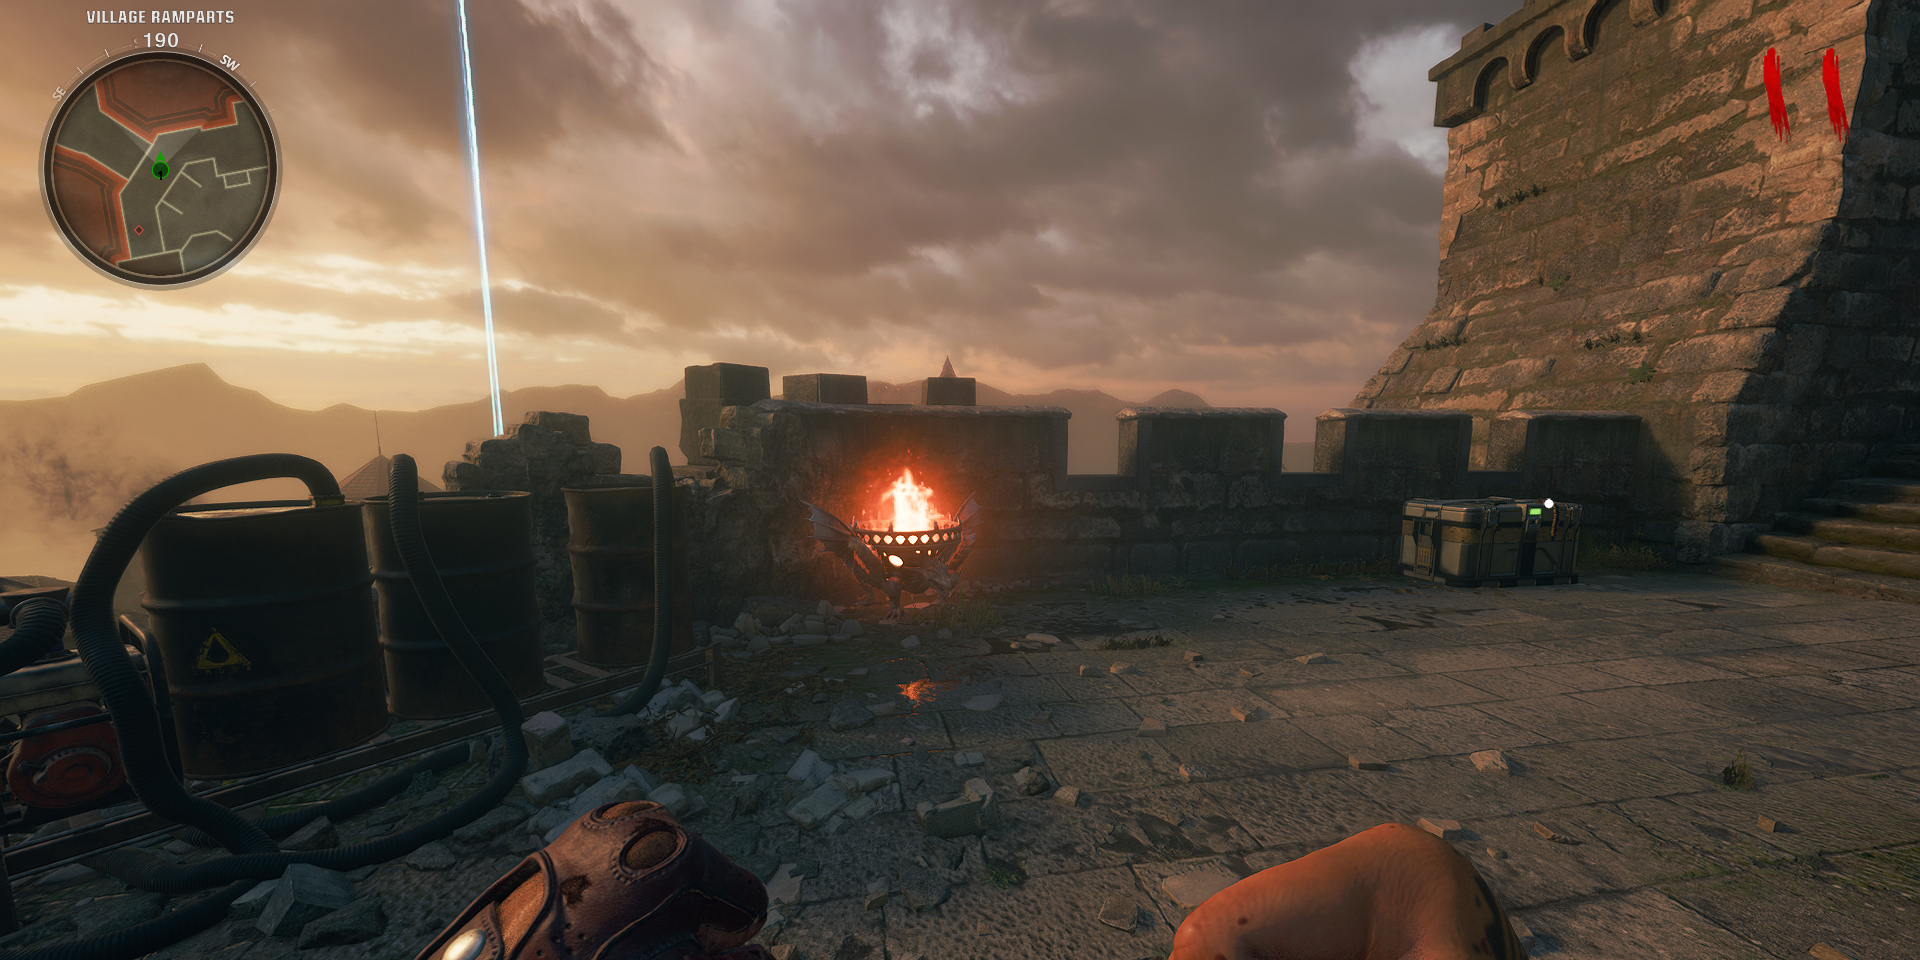
The first pyre can be found in the Ramparts above the Courtyard area where players used the cannon to destroy the door to the Entrance Hall. This is a straight line path as players can jump down from the Ramparts and run up to the dragon statue.
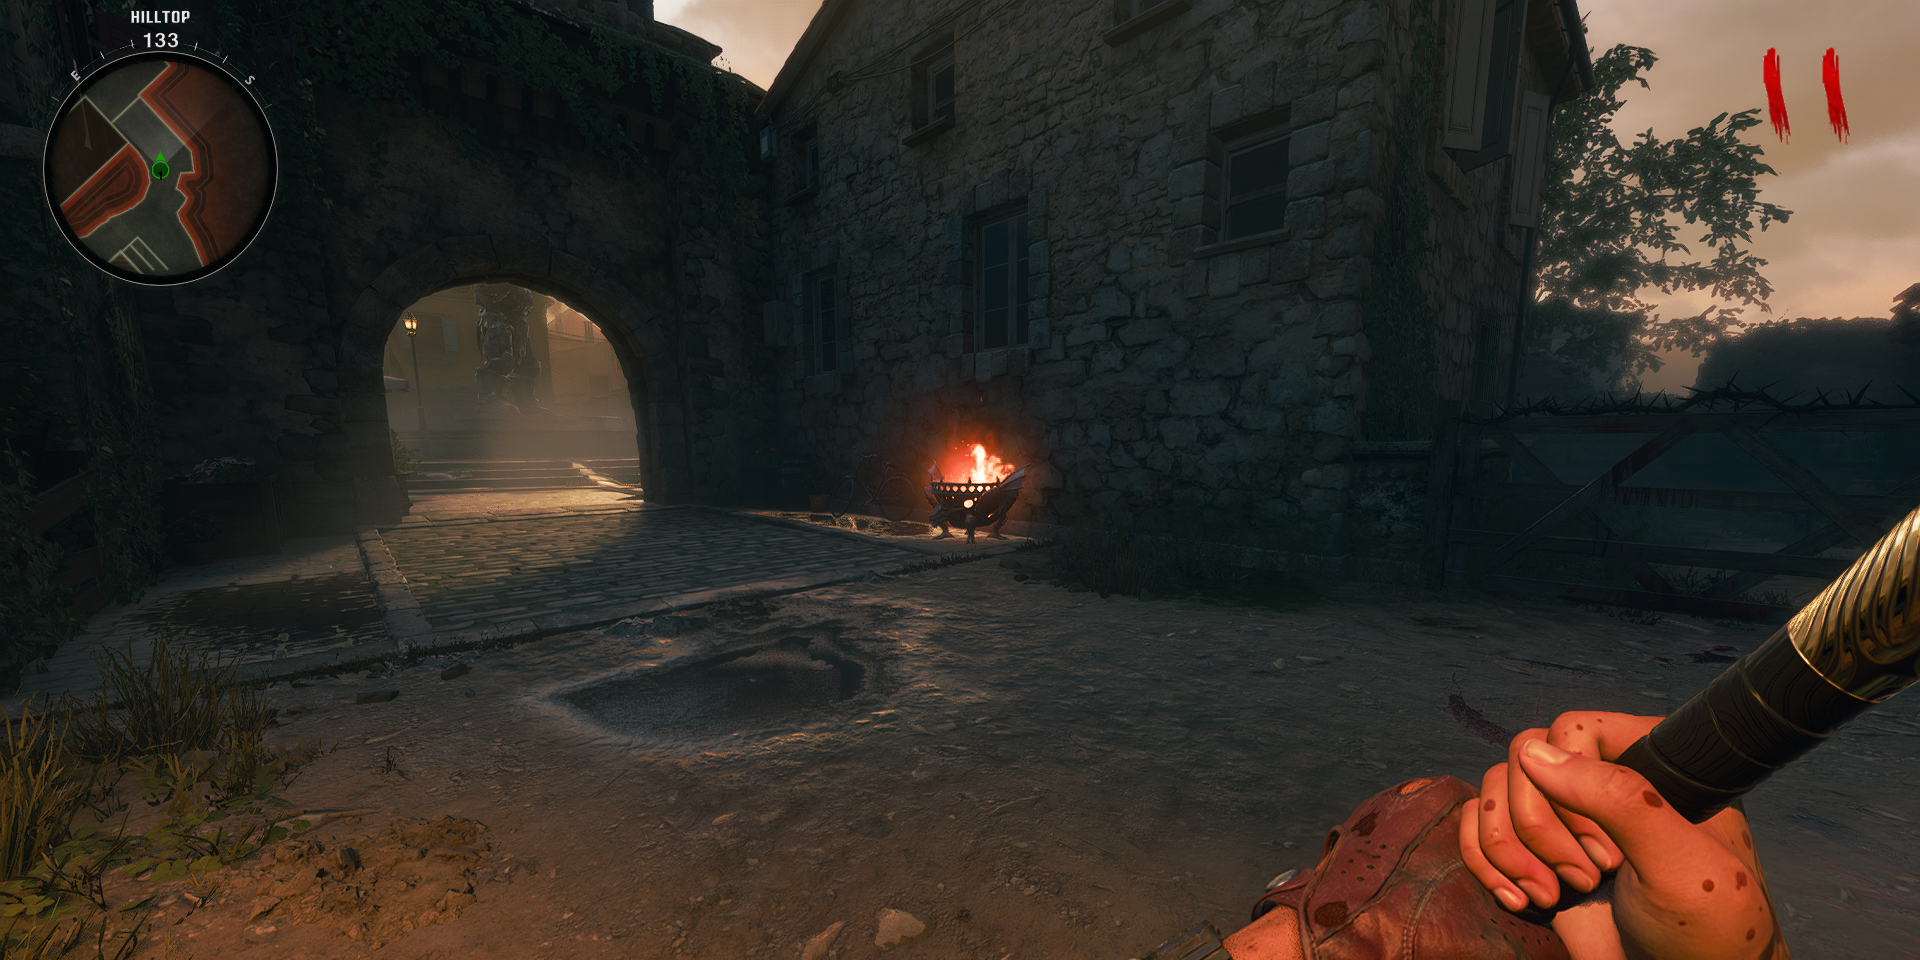
The second pyre is located to the South wall of the Nature Path in the Hilltop area, which is the left area from the spawn room. Running with this pyre shouldn’t be too hard, and it’s advised that players run through the Hilltop are back to the dragon.
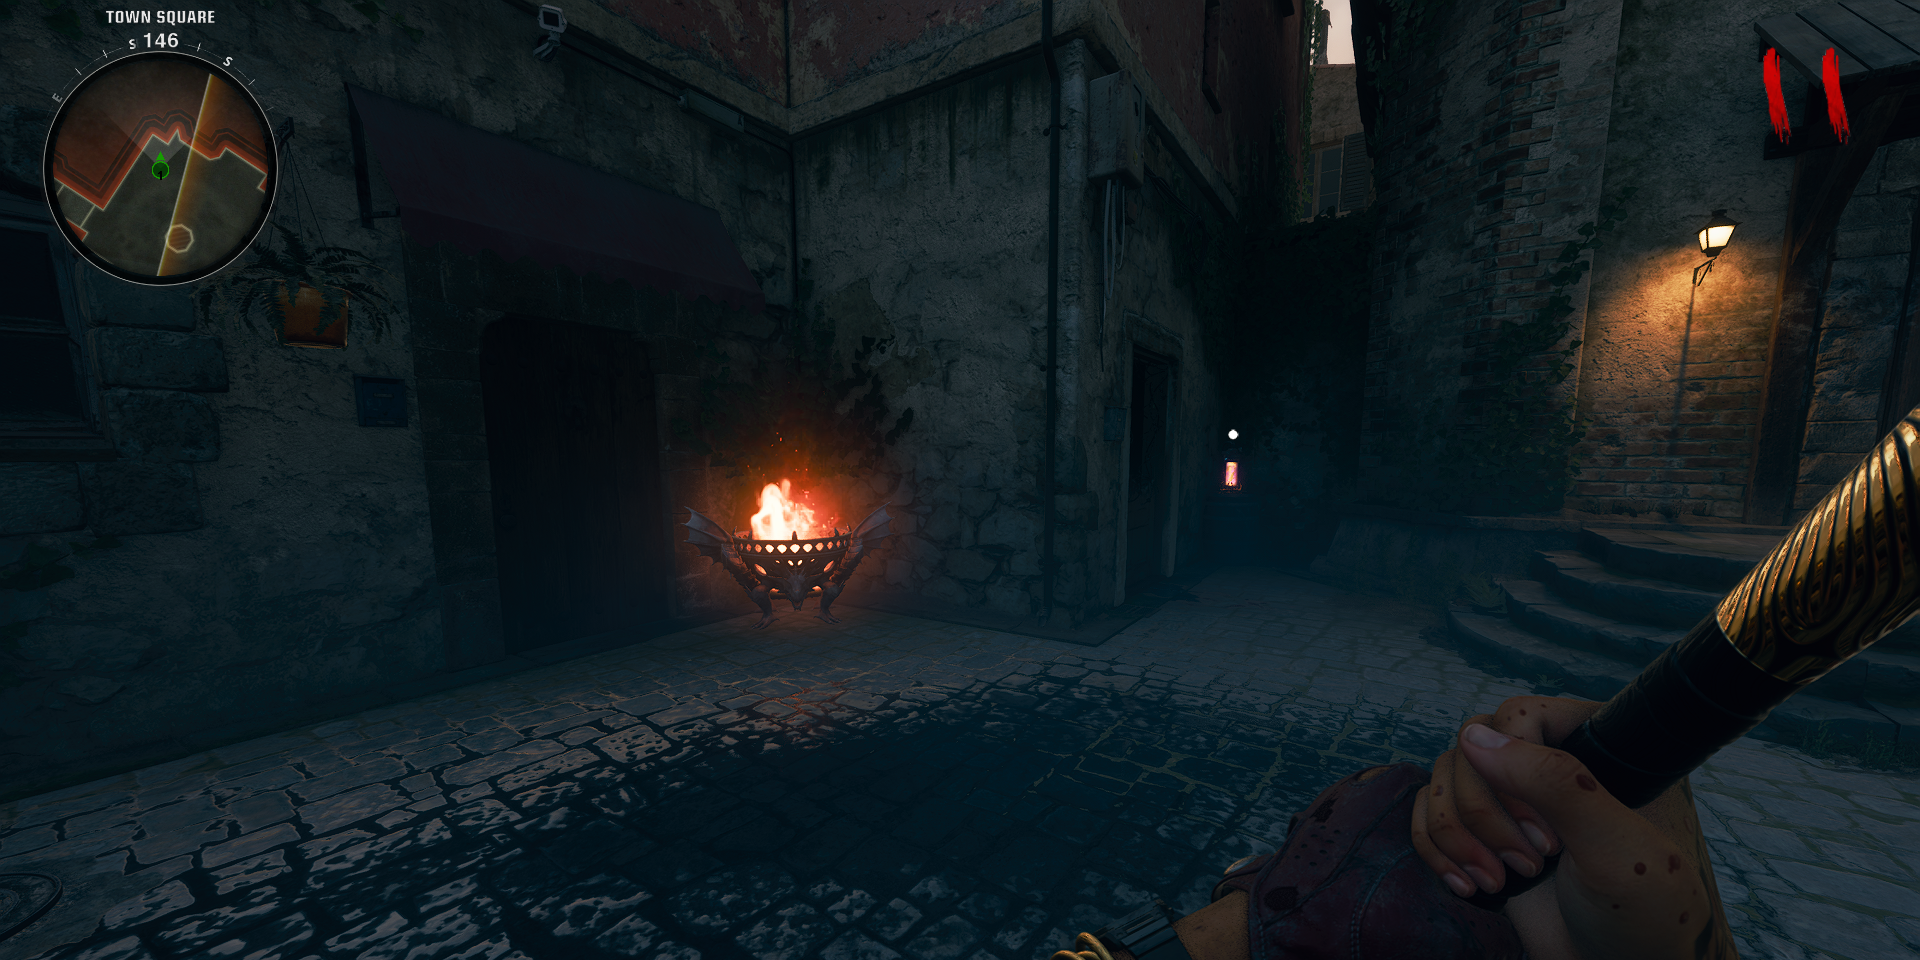
The third pyre is within the spawn area itself within the Town Square, located in the back right corner just next to the Rampage Inducer. It’s quicker to take this fire through the Village where Speed Cola is located.
After placing all three fires into the dragon statue, players can pull the sword from the stone where they will then receive Caliburn, a sword that deals flame damage, and its special attack with LT+RT/L2+R2/Left-Click/Right-Click, will provide an explosive burst of three fireballs that are like shooting cannonballs, so try to have PhD Flopper if shooting it fairly close.
How to Get Durendal (The Lightning Sword)
From the Stag Knight
The front left statue holds the Stag Sword, which players can take with them to upgrade it into the Lightning Sword, Durendal. To do so, players will need to acquire 3 Lightning Rods, with the first Lightning Rod being found in the Hilltop area, leaning against some crates right beside Deadshot Daiquiri.
The second Lightning Rod requires a Shock Charge or a Dead Wire Ammo Mod, as players must shoot an electric box connected to an antenna in the Upper Village, found near the East wall opposite Speed Cola. Doing so will drop the Lightning Rod.
The third Lightning Rod is found at random, as once players have acquired the Stag Sword, a zombie has a random chance to spawn in with the Lightning Rod imbedded in its ribcage. Killing the zombie and picking up the Lightning Rod will claim this one (Some players have noted greater success waiting for it to spawn in the Dungeon).
Once players have the three Lightning Rods, head to the Courtyard and head to the Hillside Ramparts, the upstairs area from Elemental Pop. Now, interact with the urn on a pedestal, which will place the Three Lightning Rods and summon a storm. Players must now hold their Stag Sword and kill zombies, waiting for lightning to randomly strike their blade. When it does, melee the urn. This must be done a total of three times – after which, players can interact with the urn to place their sword inside, and then interact with it again to claim it back as Durendal.
Durendal is extremely lethal thanks to its electricity effects, and its special attack makes it feel like a Wunderwaffe DG-2 since it will chain a lightning beam across multiple enemies.
How to Get Solais (The Light Sword)
From the Lion Knight
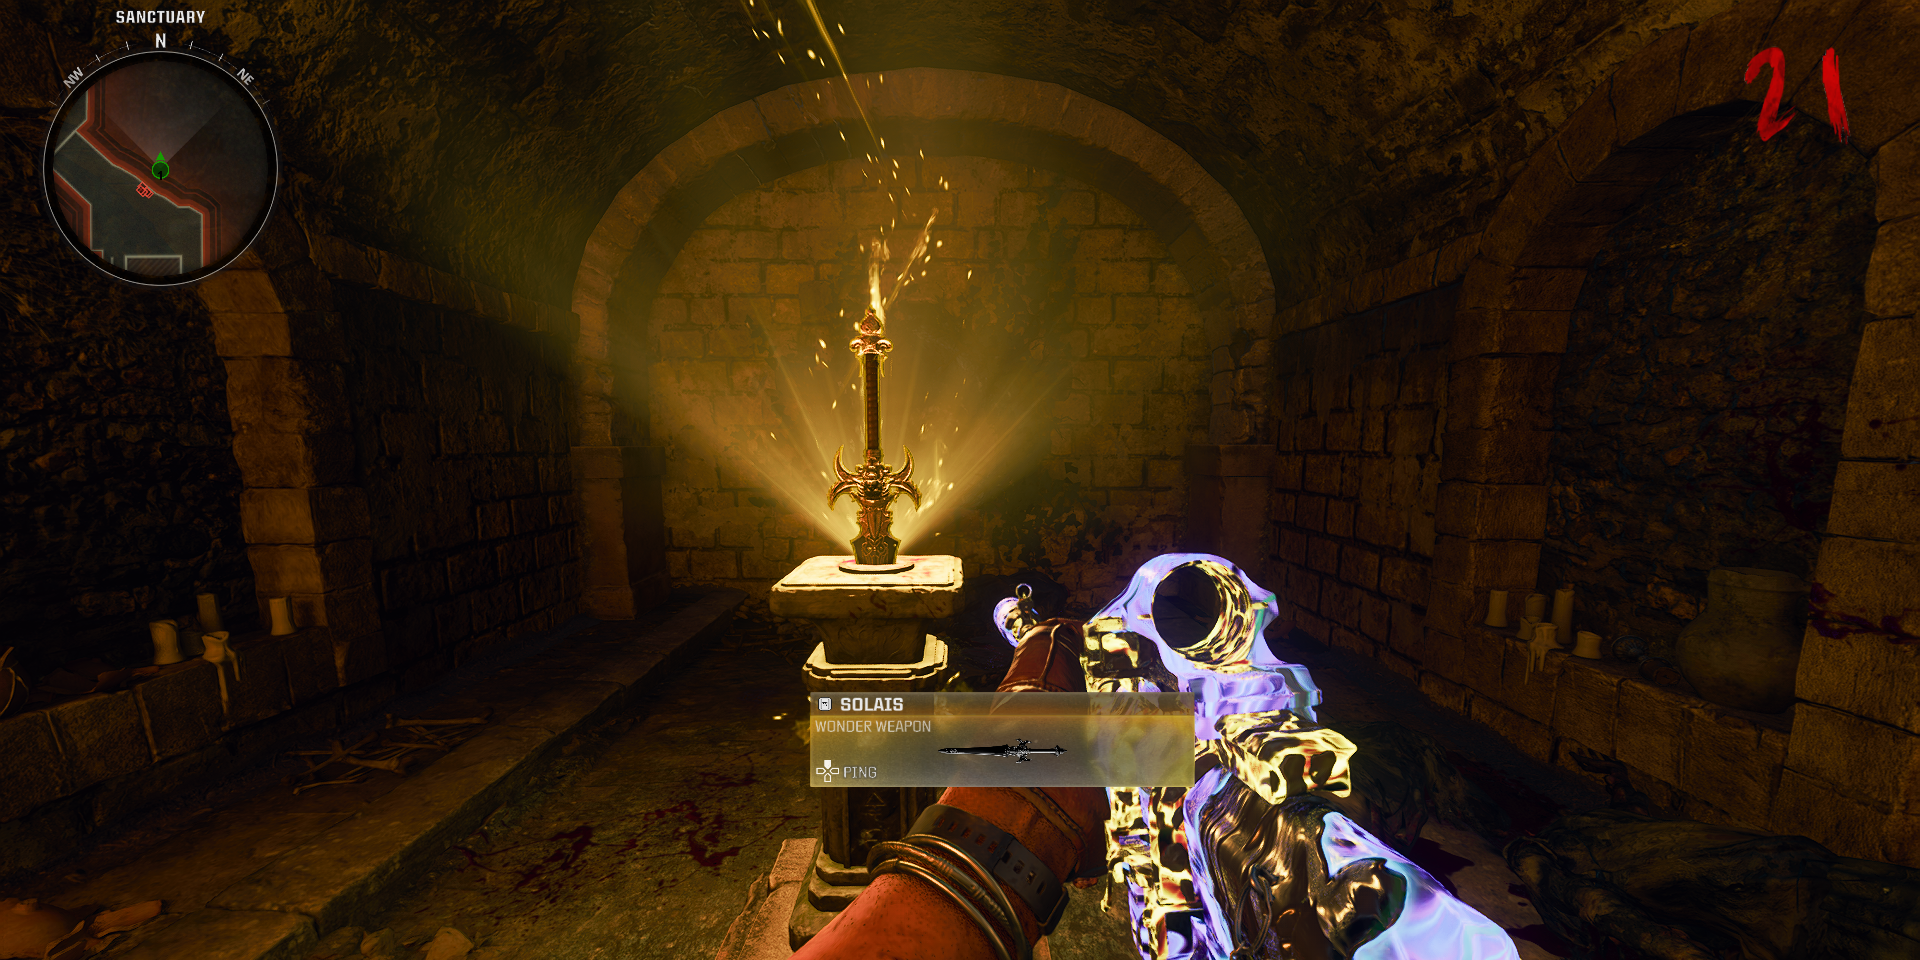
Once players pick up the Lion Sword on the back right of the statues, 4 glowing Parasites will immediately spawn. Players must not kill these Parasites right away, and instead, they need to lead them down the Upper Village section in the small tunnel opposite Speed Cola. Players can then kill them individually with the Lion Sword, which will imbue their blade with a golden glow. Players can then strike the wooden door with the lion knocker on it. Doing so will reveal a symbol, and players need to repeat this four times with the four Parasites that spawn.
Interact with the door once all four symbols have been placed, and doing so will transport players inside. Players must then interact with the stone in the middle to place their Lion Sword inside, revealing a symbol in the stone. Players then have 60 seconds to find this symbol around the room and shoot it. Players must repeat this four times with different symbols. The order should always be:
- Circle with a dot
- 8-point star
- Triangle
- Circle with a line
During this encounter, zombies will spawn but at a slow walking pace, so try to avoid them and shoot the correct symbols. Messing up will just mean players have to re-enter the room next round. Completing this step will see all zombies explode and the sword will be claimed as Solais.
Solais is already a rather underloved Elemental Sword, but when it’s fully charged, it will provide armor on kills and hits with its blade. This is great for vampiric siphon builds with Melee Macchiato, and its Charged Special Attack provides a temporary aura of lethal protection around the player, but it’s extremely brief and shouldn’t be relied on to avoid taking damage.
How to Get Balmung (The Void Sword)
From the Crow Knight
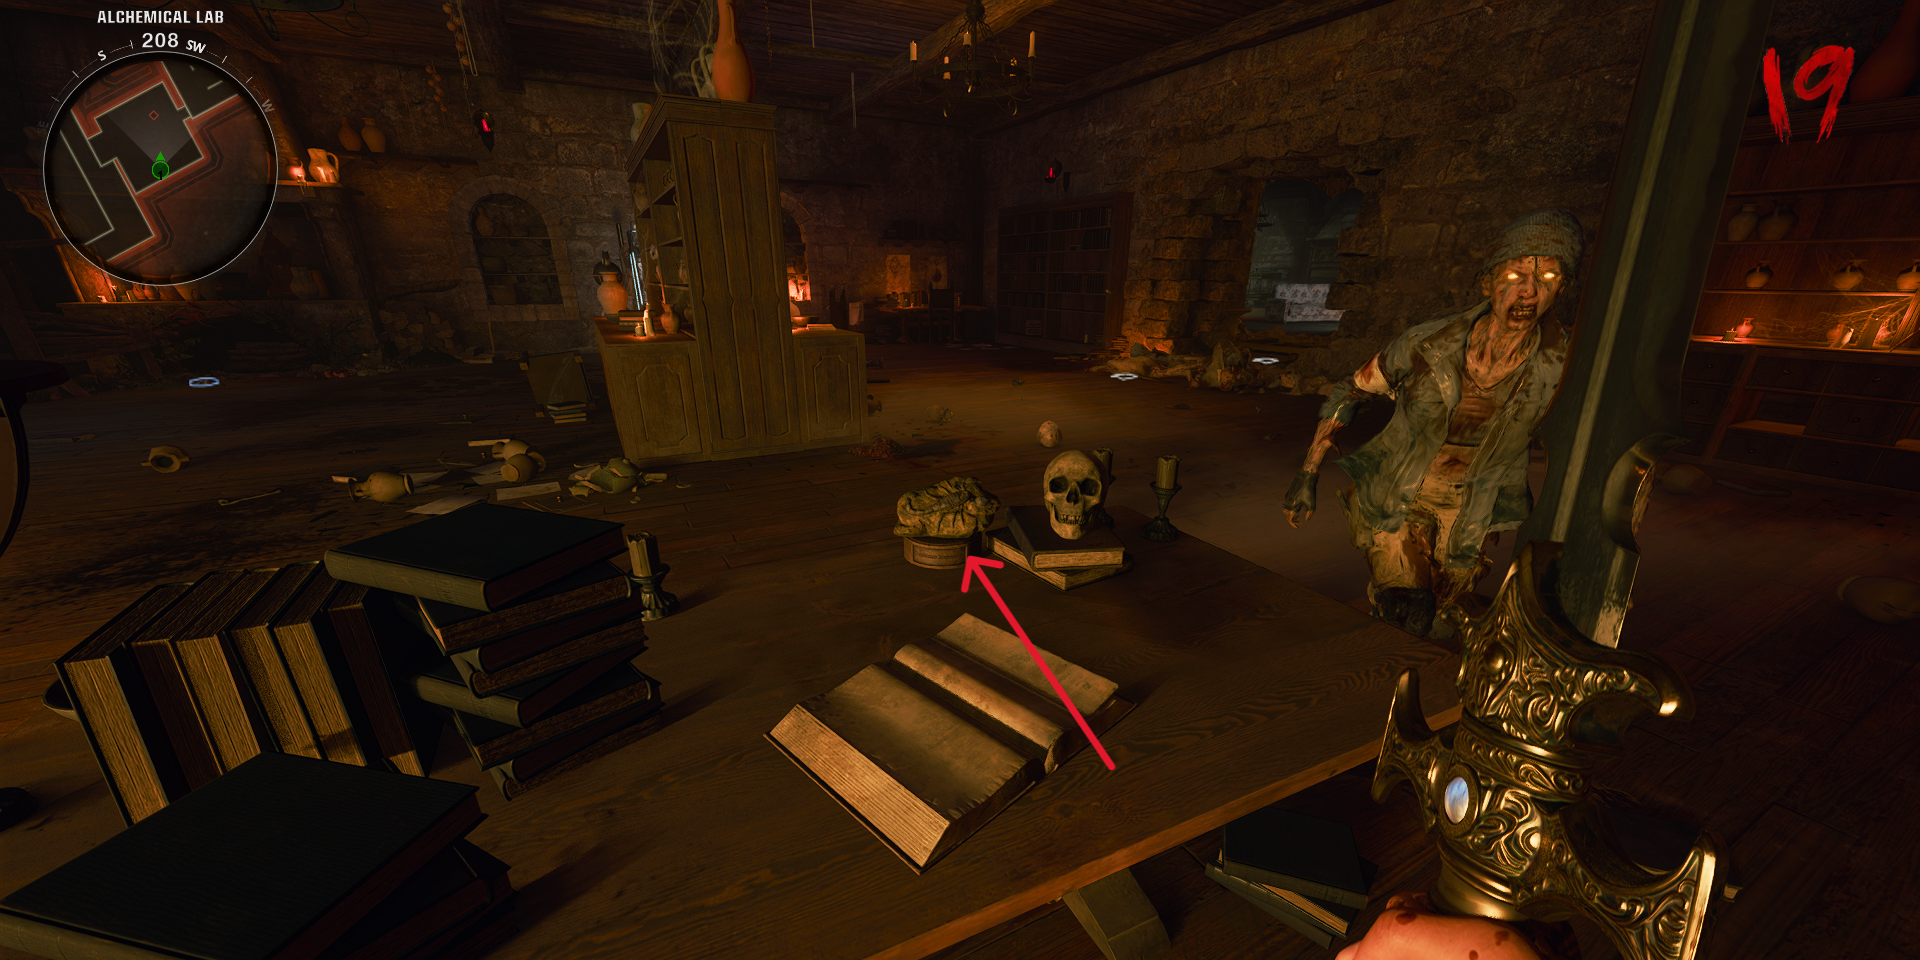
After claiming the Crow Sword from the back left statue, players will need to head to the Alchemical Lab situated in the room next to Stamin-Up and Vulture Aid. Inside this room, players will need to scour the shelves and desks inside to find a random bone. Players can find what the bone is now, but it’s mainly important that they find it and pick up this Antiquity and bring it to the Tavern Cellar, located at spawn.
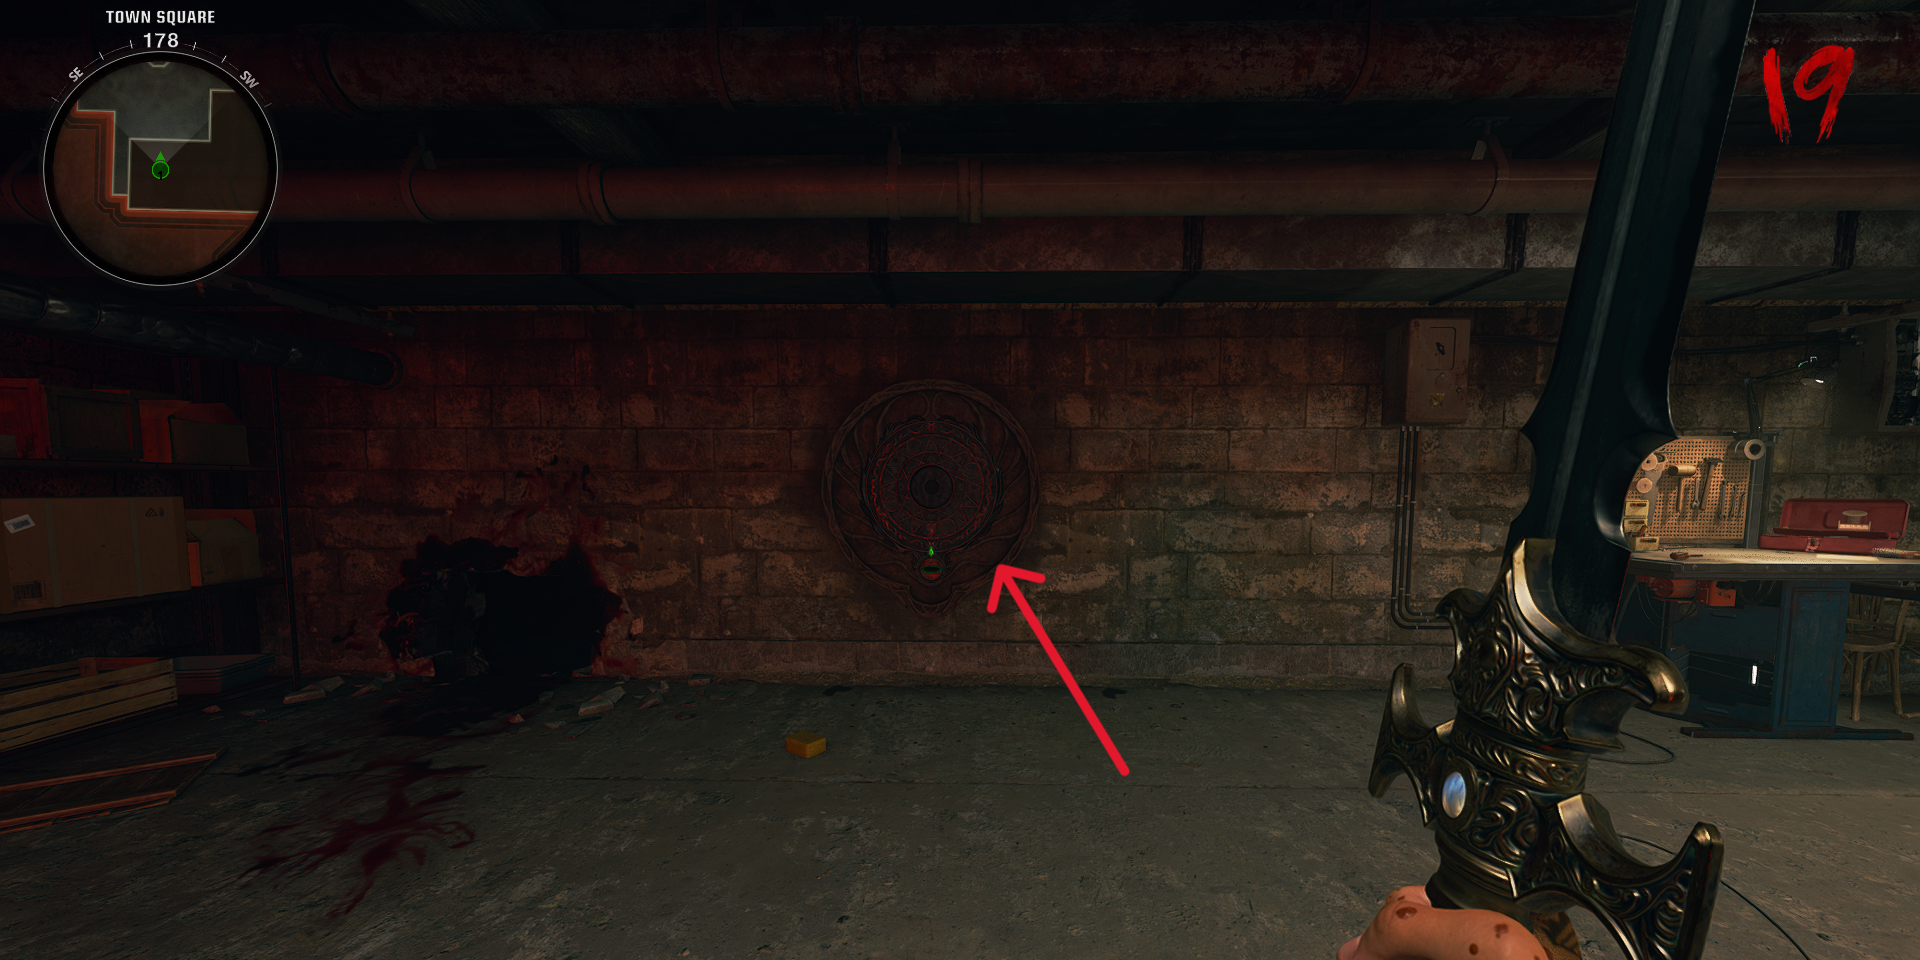
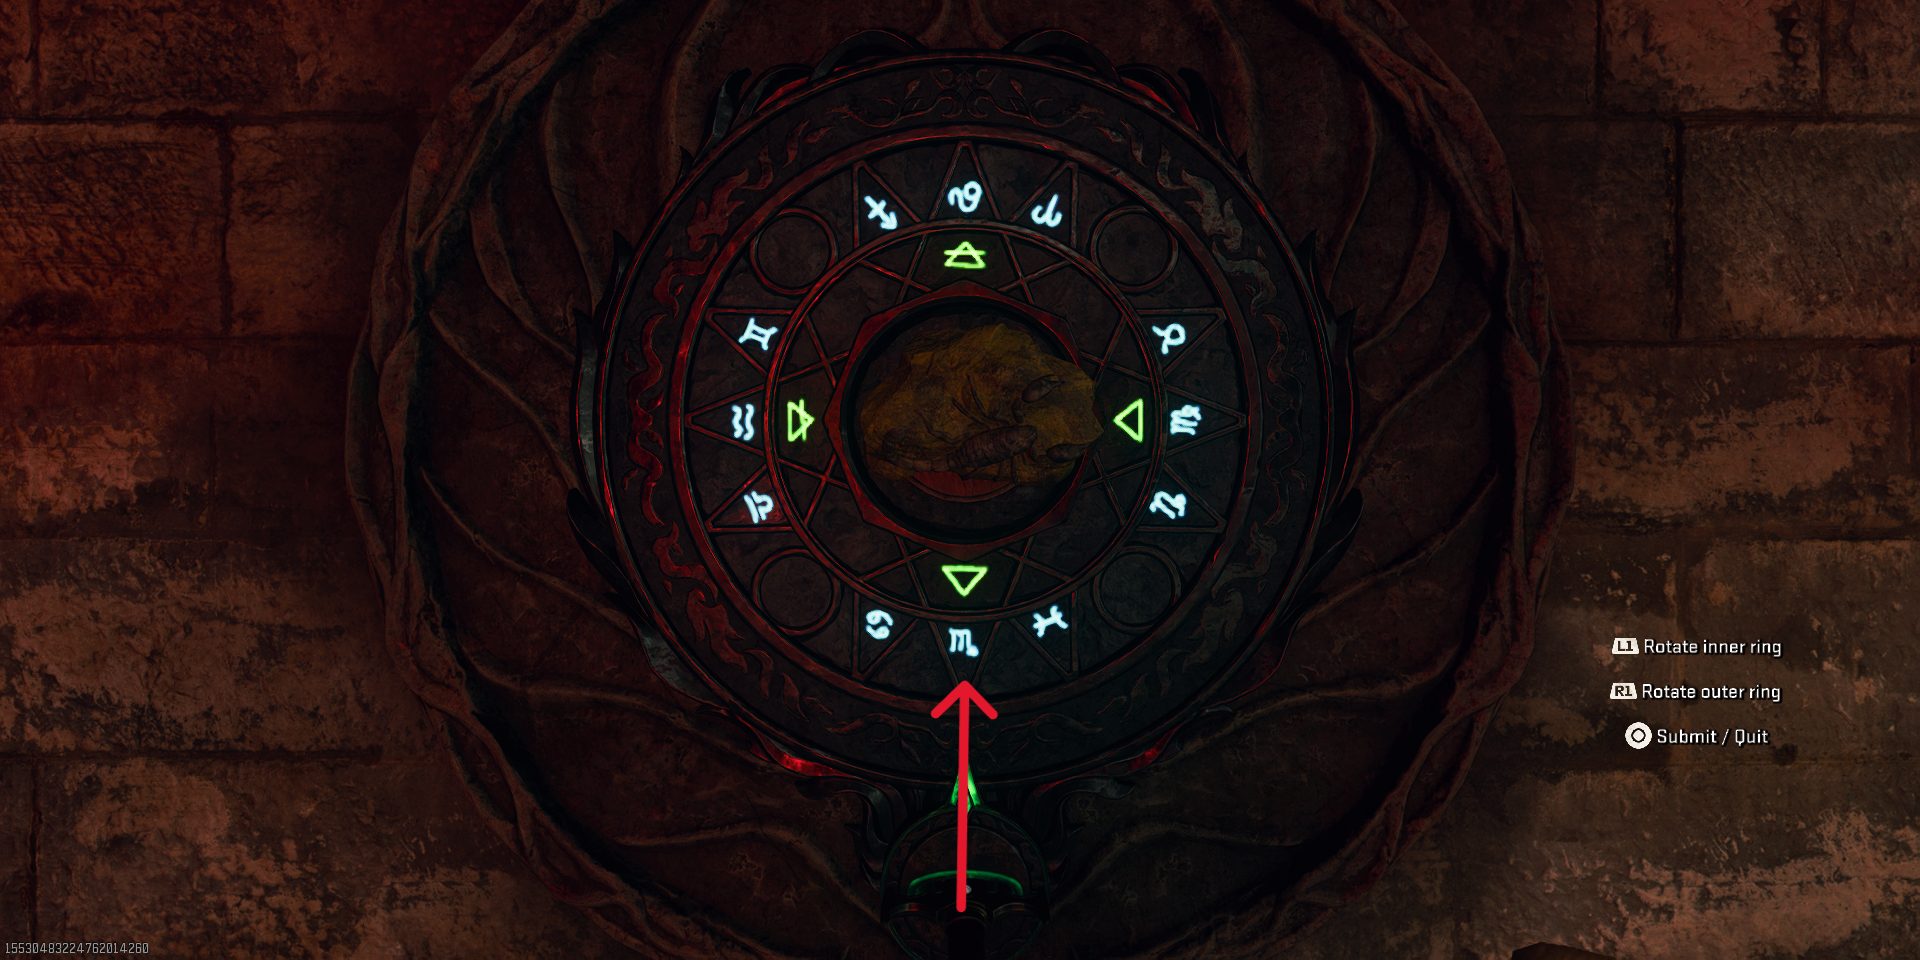
Interact with a dial on the wall in the Tavern Cellar to give it both the Antiquity and the Crow Sword. Players can now interact with it again to get a closer look at the rock they picked up, and to rotate the inner and outer rings. The goal of this puzzle is to align the fossil in the middle with its matching symbols within the inner and outer ring, ensuring that the two symbols are submitted when facing the hilt of the sword, which is the bottom position (6 o’clock) on the dial.
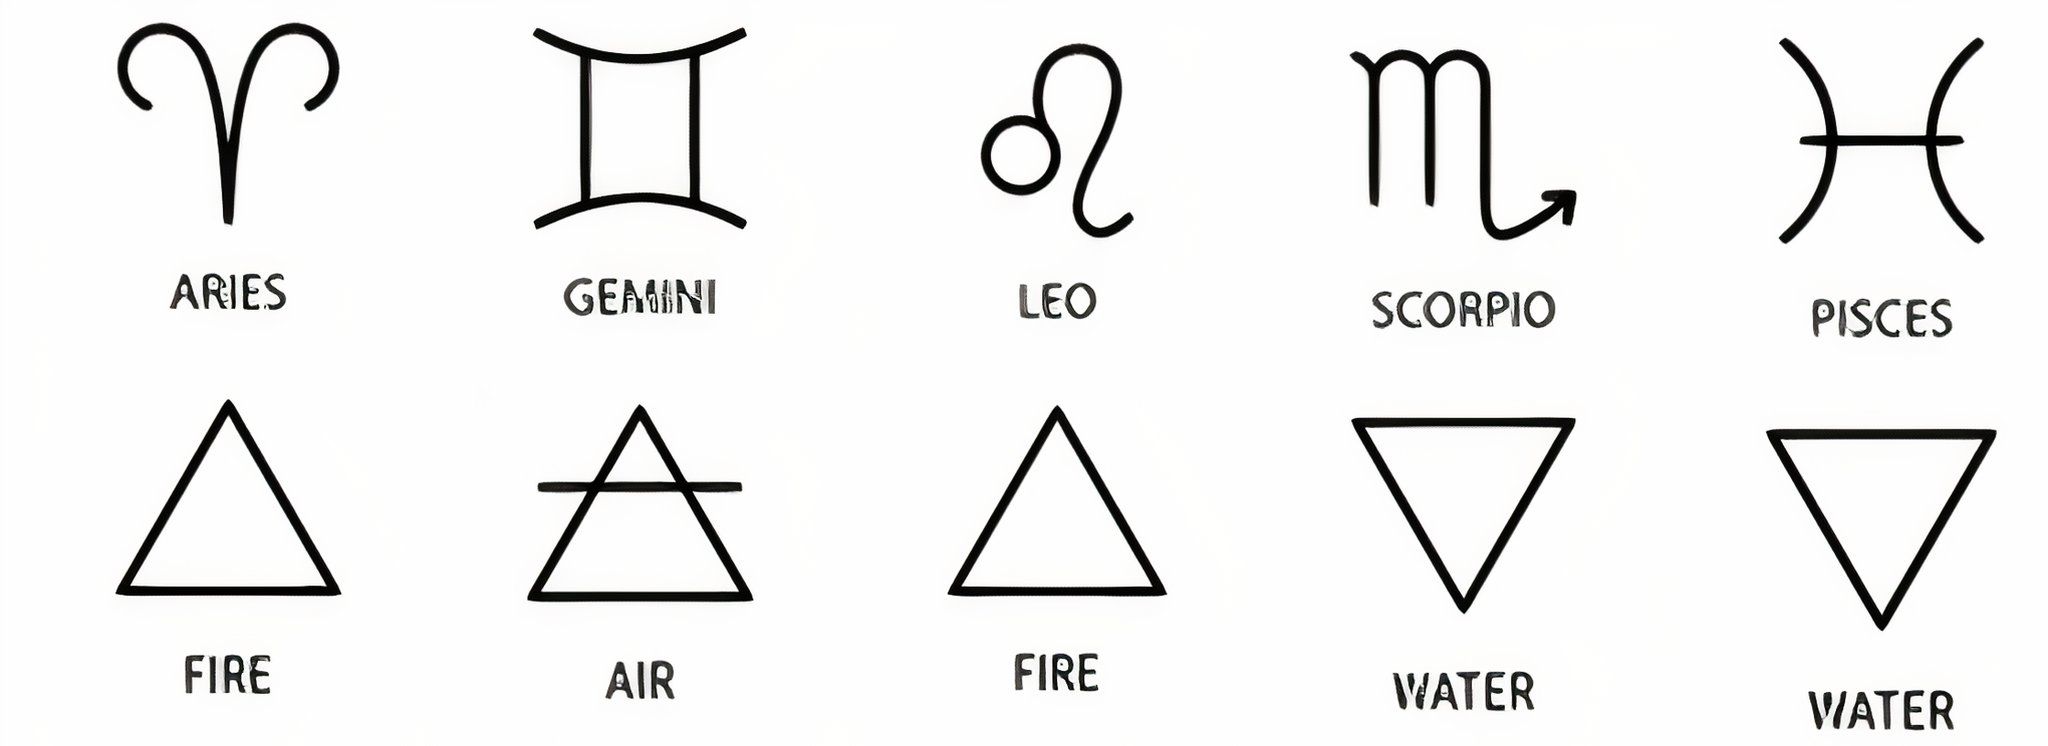
The symbols that players are looking for are based on the bone inside the middle of the tablet they have, as it must match with its Astrology, Zodiac, and elemental symbols. This table might help players, and remember, interacting with the tablet in the Tavern will make players immune to zombies while they enter their symbols:
|
Middle Symbol |
Inner Symbol |
Outer Symbol |
|
Horns |
Fire (Triangle) |
Aries |
|
Raven Skulls |
Air (Triangle with a Line) |
Gemini |
|
Jaw |
Fire (Triangle) |
Leo |
|
Scorpion |
Water (Upside Down Triangle) |
Scorpio |
|
Fish |
Water (Upside Down Triangle) |
Pisces |
For context, this guide had Scorpion, so the symbols used were Water (upside down triangle) in the inner circle, and the Scorpio (m) in the outer circle.
Players will know that they have submitted the right answer, as music will play and slow void orbs will begin to spawn. These orbs will track the player, and running into them causes damage, so it’s important that players draw the orbs into the void tears on the ground. Each void tear needs 3 orbs:
- The first void tear is found in the Tavern Cellar.
- The second void tear is found within the Tavern’s first-floor
- The third void tear is found in the Tavern’s second-floor
After completing the third and final void tear, an orb will return to the pedestal where players left the Crow Sword, and infuse it with the powers of shadow. Players can now interact with it and claim Balmung for themselves, a Crow Sword capable of void and darkness abilities. The Special Attack of the Shadow Sword is to slash a void tear into the world which acts like a Gersh Device, pulling zombies in and instantly killing them, but it doesn’t last long and barely affects Amalgams.

- Released
- October 25, 2024

